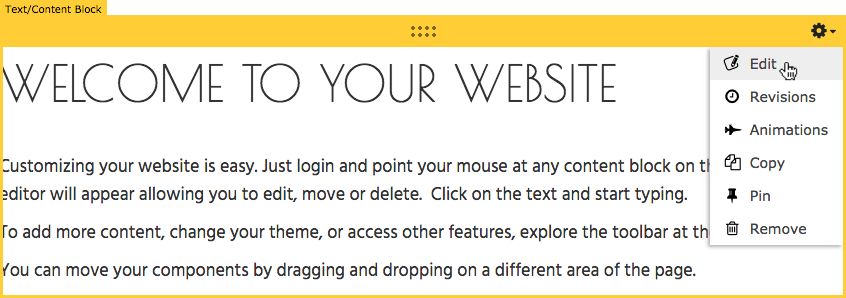
Component Toolbar
The Component Toolbar allows you to make changes to Components after they have been configured initially. To access this, simply move your cursor over the Component you wish to edit, and choose the desired option.
The Component Toolbar is a powerful tool in editing your pages, and is capable of quickly performing the following functions:
General
- Drag - where you first place your Component isn't where it needs to stay! Make room for another one, or move it into any of the available Content Locations on the page.
Hint: You can also use this function to drag a Component onto any of your other pages! Try it out by dragging it up into the Current Page dropdown on the Toolbar.
- Settings - change your Component settings, such as the Component title or the number of posts listed for the Blog Posts Component.
- Edit - modify the content within the Component, such as the code entered into the HTML Component.
- Delete - Component no longer needed? Click "Delete" to remove it and make room for another one!
Component-specific:
- New Post - The fastest way to create a new post with the Blog Posts Component.
- Blogs - Allows you to change the currently added blogs for the Blogroll Component.
- Manage Friends - Add or remove friends, or change your profile for the Friend List Component.
- Change Location - Change the location displaying for the Google Maps Component.
- Images - Upload new images, delete existing images, and modify image collections for the Image Gallery Component.
- Edit Fields - Update, add or remove the fields created for the Form Component.
- Feeds - Update, add to or remove the feeds displaying for the Web Feed Component.
- Paypal Settings - Change all settings related to your Paypal Component including associated account, item currency, amount and quantity.

